Showing posts with label DIY. Show all posts

Sunday, June 23, 2013

Little Miss Organized

Now that I am in the process of packing most of my belongings to be stored for a year, I have a lot of work to do because I have A LOT of belongings! 

I've started packing up my craft/work room which holds many papers, folders, teacher files and resources. I originally shoved everything into a big Rubbermaid container and put the lid on. Well, yesterday I thought of something that I needed to take out of said bin and it wasn't pretty. I quickly became overwhelmed at the mess that I have made by tossing everything into the container. So, I looked around for the best ways to organize everything. I found a teacher online who "binder-ized" all of her school stuff and everything had been perfectly labelled and colour coded. Next thing I know I'm off to the store to buy some binders! 

Check out where the Binder-izing Project came from! CLICK HERE!

I downloaded her completely customizable templates for the binders from TeachersPayTeachers. The best part is that I had enough TpT credits to get them for a nice discount! 

Full Customizable Binder-izing Kit

Standard Binder-izing Kit Freebie

I was able to make up 10 perfectly perfect binders within an hour. Everything is completely organized and will be easy to access. I can't wait until I am back here teaching and I will have a beautiful organized system of all my papers and files. This is seriously the best way to store everything and it takes up little space!!  
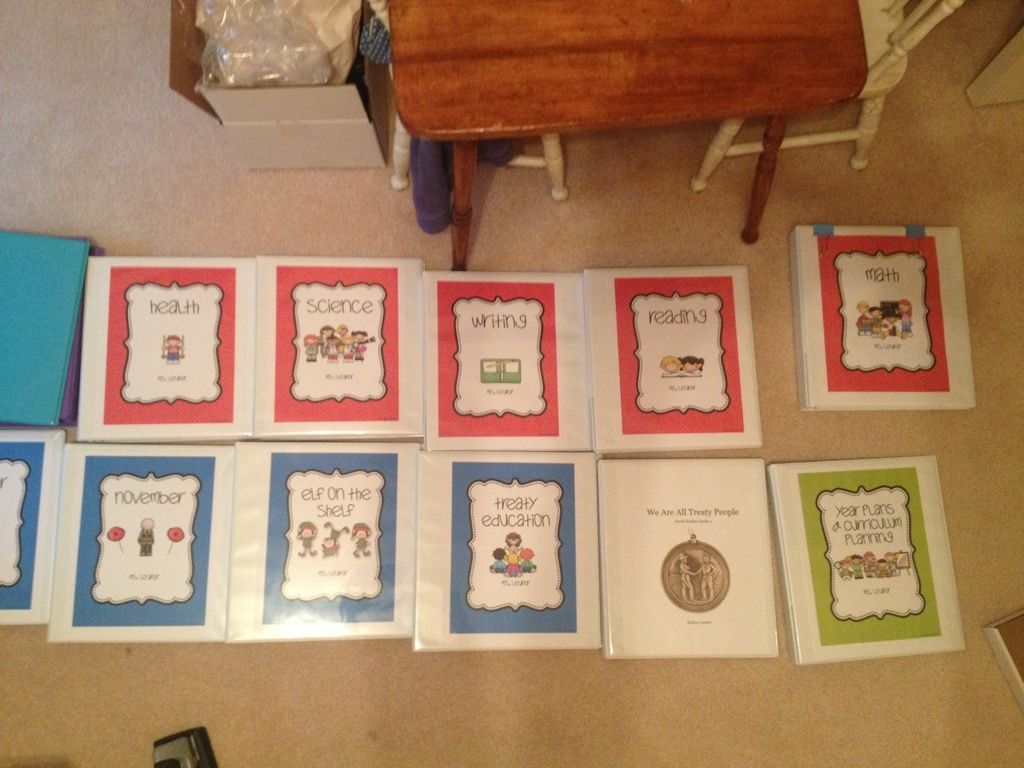

I love how these can go on a shelf and you can tell EXACTLY what is in each binder! AMAZING!
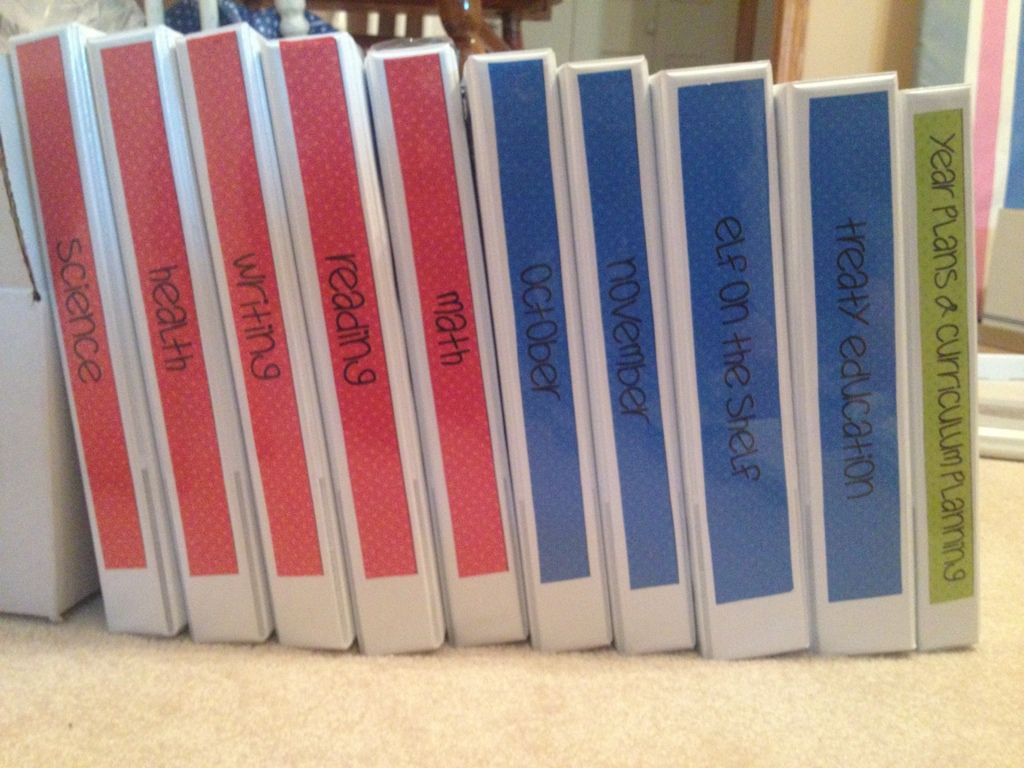
I'm so excited to have this binder-zing system and will definitely always use it! It's too just brilliant! 

Wednesday, May 1, 2013

DIY Re-purposed Tin

Okay, I'll admit that when I have a sore throat and I am in need of some cough candies, I opt for the Sucrets. I don't only go for those lozenges just because they can soothe a sore throat quickly but also because they come in the most perfect little tin. Sure, I may be paying a little more for the lozenges because it comes in a tin opposed to a plastic bag or small cardboard box, but the way my mind works is that I can re-use that tin! 

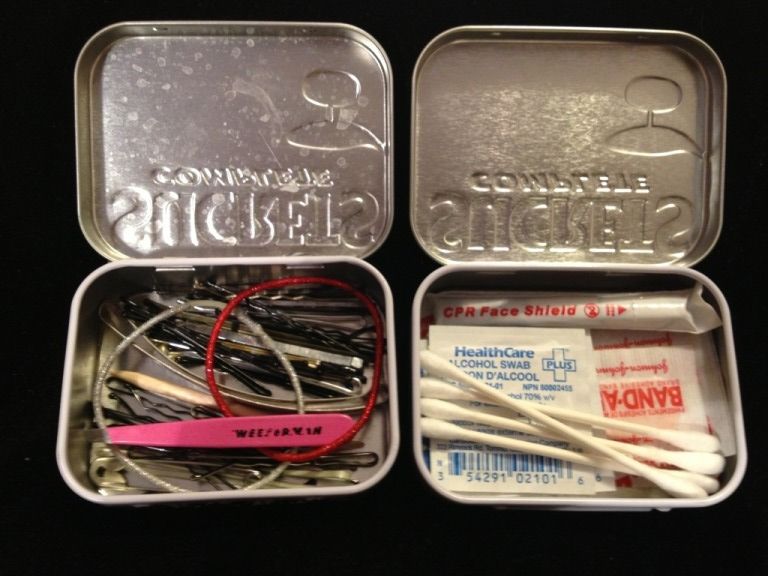
No, I am not a hoarder and I certainly don't consider the packaging in everything I purchase, but I'm telling you that these tins come in handy for so many things. My main purpose for the tin once the lozenges are all gone is to store all my bobby pins, hair pins and pony tails in. It's perfect for these items because they are not scattered somewhere in a drawer and it's easy access for when I am doing my hair, I just bring the tin out! I also have one that I keep in my car as a mini first aid kit. It contains some bandages, a small tube of polysporin, some alcohol swaps, q-tips and a CPR face shield. I have another tin that I store my headphones and iPhone charger in for when I go on a trip. 

Basically, there are endless possibilities for the things you can put into the tins. The problem with these tins is that they are generally, well.. ugly. Each time you look at it you think about the times you had that terrible sore throat and had to buy them (maybe not, that's a little dramatic, but you get the point!). 

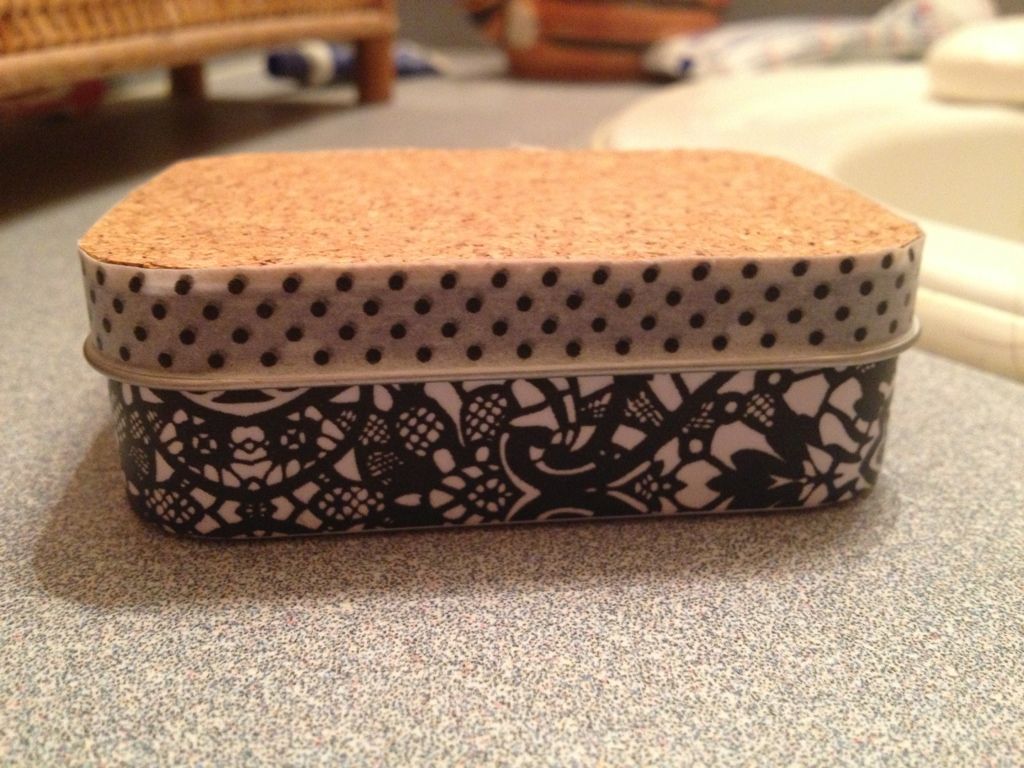
The tins don't have to be an eye sore, you can fancy them up like I did with mine! All you need are a few simple ingredients and only a couple minutes and you will have a fabulous looking tin to store anything you think of in! 

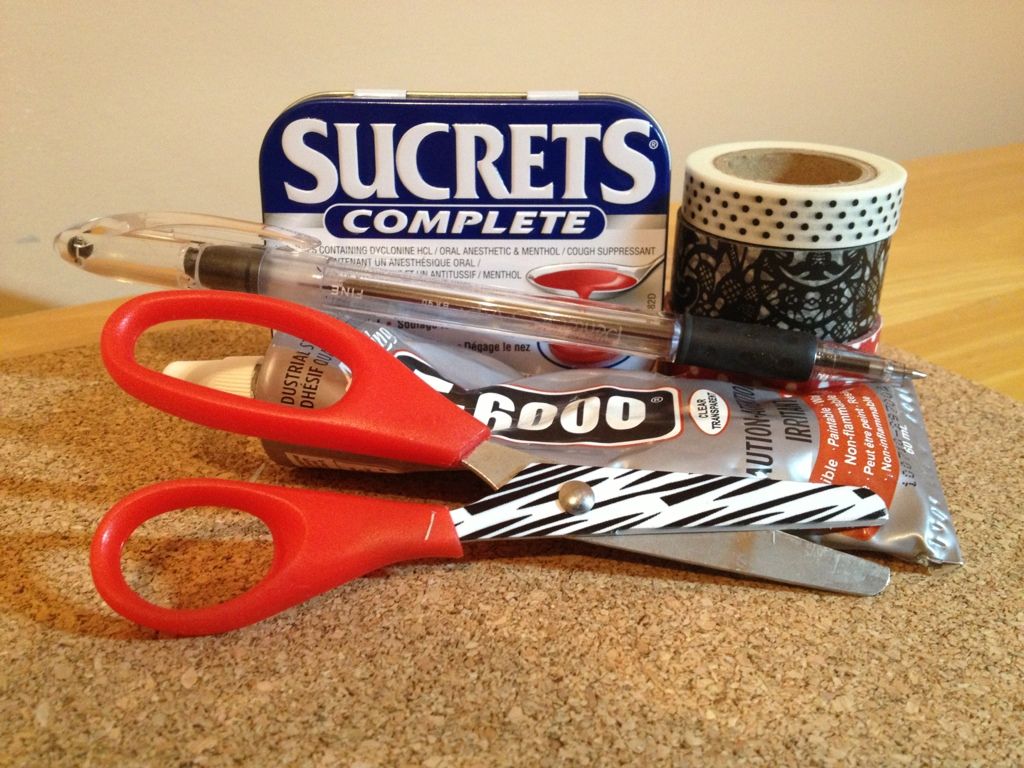
You will need:

A sheet of cork board
E-6000 glues (or any other strong bond glue)
Washi Craft Tape
Scissors
A pen

First, peel the ingredient sticker off the bottom of the tin, it's pretty easy to peel. Then, trace around your tin lid onto the sheet of cork board. Next, cut the piece of cork board out and make sure it will fit nicely on top of the tin. Then you'll want to put your glue onto the tin lid and adhere the piece of cork board on top, holding it down until the glue has dried. Then I like to take my scissors and tidy up the edges on the cork board by trimming the sides. Finally, I decorate the sides of the tin with Washi tape. You can also make it even more fabulous by adding some decals or stickers to the top of the box.