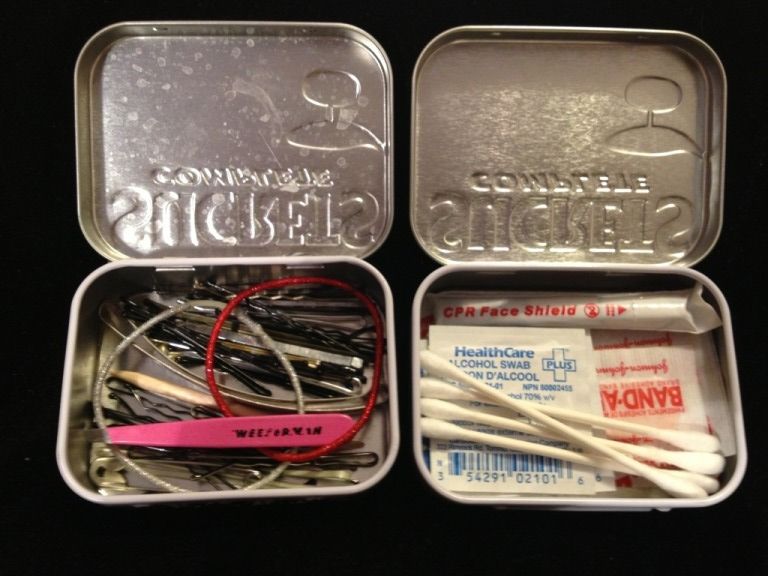
No, I am not a hoarder and I certainly don't consider the packaging in everything I purchase, but I'm telling you that these tins come in handy for so many things. My main purpose for the tin once the lozenges are all gone is to store all my bobby pins, hair pins and pony tails in. It's perfect for these items because they are not scattered somewhere in a drawer and it's easy access for when I am doing my hair, I just bring the tin out! I also have one that I keep in my car as a mini first aid kit. It contains some bandages, a small tube of polysporin, some alcohol swaps, q-tips and a CPR face shield. I have another tin that I store my headphones and iPhone charger in for when I go on a trip.
Basically, there are endless possibilities for the things you can put into the tins. The problem with these tins is that they are generally, well.. ugly. Each time you look at it you think about the times you had that terrible sore throat and had to buy them (maybe not, that's a little dramatic, but you get the point!).
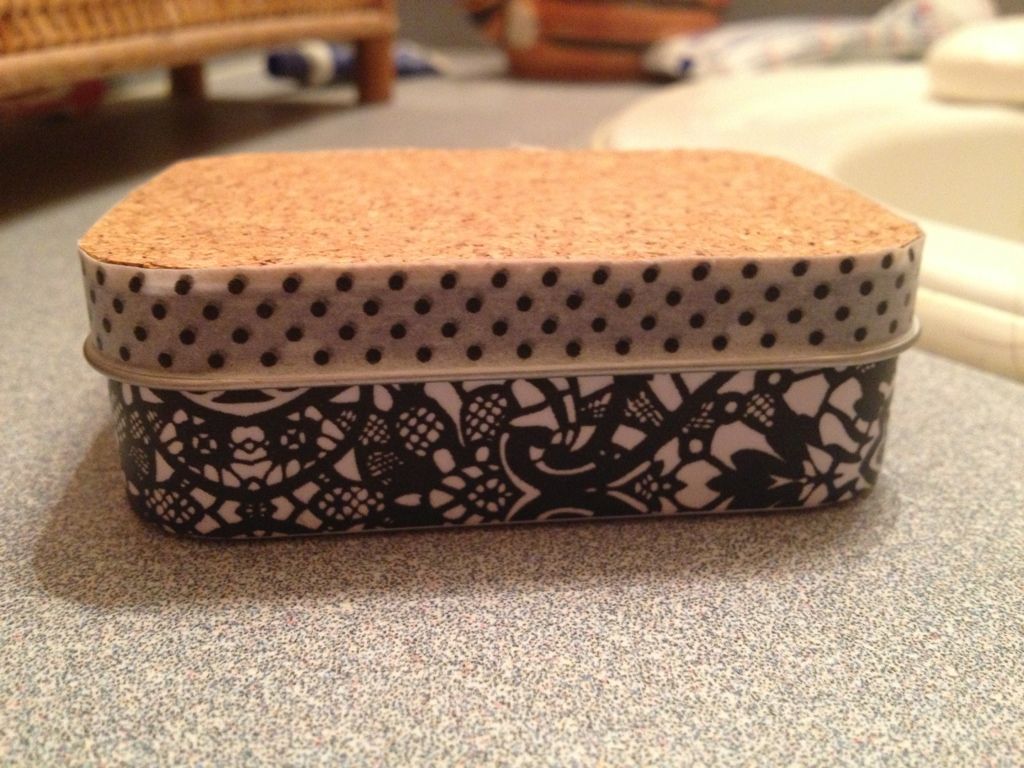
The tins don't have to be an eye sore, you can fancy them up like I did with mine! All you need are a few simple ingredients and only a couple minutes and you will have a fabulous looking tin to store anything you think of in!
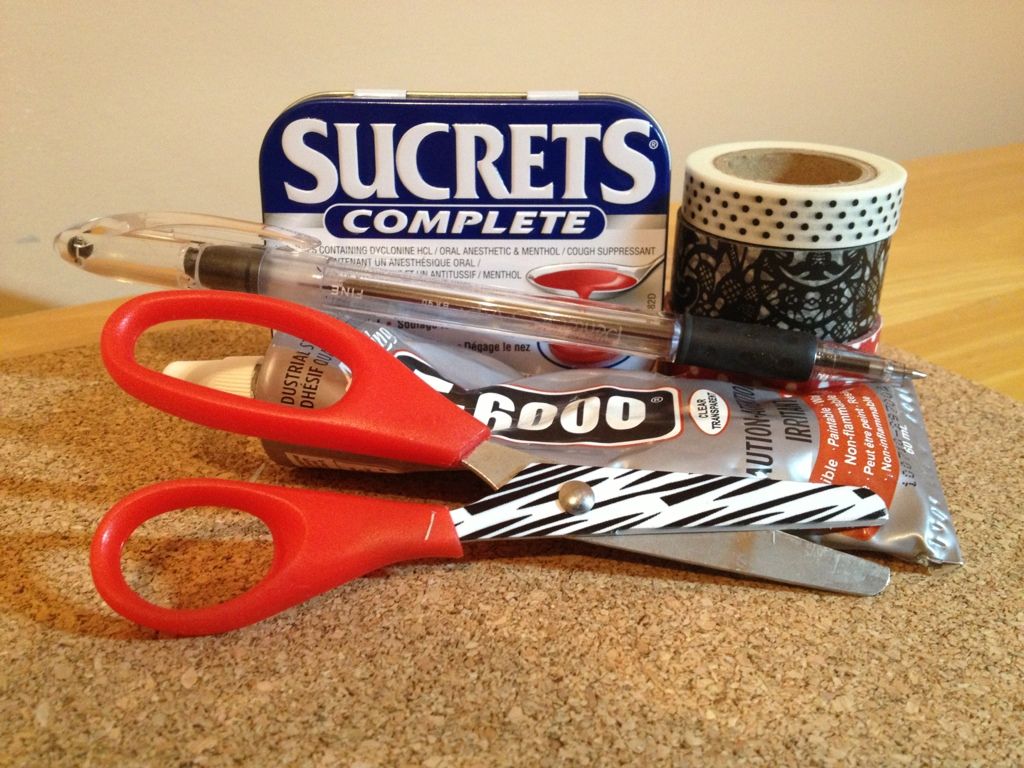
You will need:
A sheet of cork board
E-6000 glues (or any other strong bond glue)
Washi Craft Tape
Scissors
A pen
First, peel the ingredient sticker off the bottom of the tin, it's pretty easy to peel. Then, trace around your tin lid onto the sheet of cork board. Next, cut the piece of cork board out and make sure it will fit nicely on top of the tin. Then you'll want to put your glue onto the tin lid and adhere the piece of cork board on top, holding it down until the glue has dried. Then I like to take my scissors and tidy up the edges on the cork board by trimming the sides. Finally, I decorate the sides of the tin with Washi tape. You can also make it even more fabulous by adding some decals or stickers to the top of the box.